The September is not even over yet, and I'm already in Halloween mood. This year I decided to create few creative, Halloween appropriate makeup looks, and for some I’ll even share tutorials. I decided to start with few more girly, sexy looks that can work okay as bolder night out looks without all additions and once one adjusts them, but I hope I’ll have time to create even crazier looks. This looks take more time than my usual looks, especially when I’m photographing step by step applications for tutorial, but they are so much more fun to create and play with.
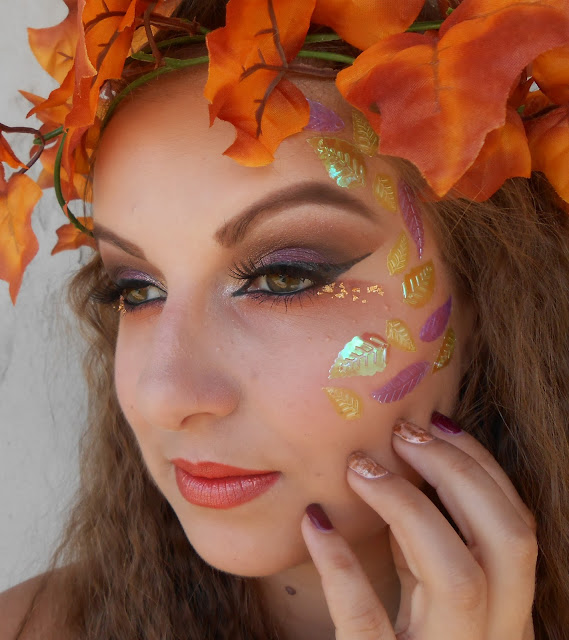
The first look I created was actually a Snow Queen look, of which you could see a preview on my Facebook page if you follow me there, but I decided to post a makeup look that was inspired by fall first. I call it Fall Fairy. Some time ago I found a band with fall leaves in Tedi, and I knew immediately that I’ll have to include it in one of my Halloween looks. This band served me for a crown. Because I have very straight hair with no volume and I wanted a huge volume for this look, I braided my hair the night before I was doing this makeup, and the next morning I had curly volumising hair style on my head. I always start my makeup looks with application of foundation. Even if I use eyeshadows that fall out like crazy, I have to have at least one layer of foundation on my face ... from no special reason, just because I got use to it. After that I fill my brows. This time I actually planned something more for them, but in the end I left them as I usual wear them.
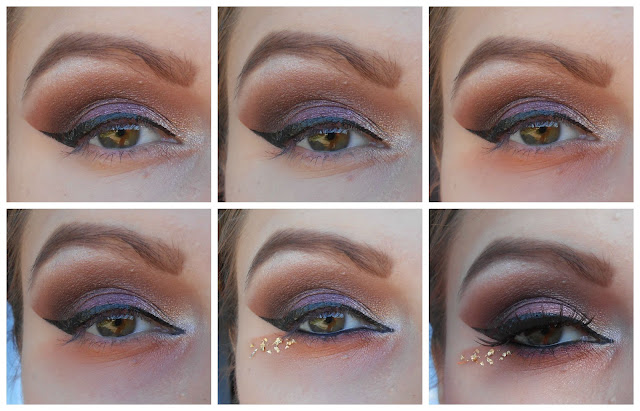
Photo 1: First I placed a tape in a line from outer V of my eye to my eyebrow, because I wanted to achieve a sharp line, and there’s no better way to achieve it as with usage of a tape. Then I used an eyeshadow base, which I set with white eyeshadow. In crease I applied very light brown eyeshadow as a transition colour.
Photo 2: First I applied Maybelline Colour Tattoo eyeshadow On and On Bronze on inner third of the lid and then Metallic Pomegranate on outer two thirds.
Photo 3: Over bronze base I layered golden eyeshadow, and over plumy base an eyeshadow in the same colour. Because I used creamy eyeshadows as a base, metallic eyeshadows from Sleek Vintage palette looked really intense on my eyes.
Photo 4: I applied a dark warm brown shade in crease and really blended it high on brow bone.
Photo 5: In outer V I applied black eyeshadow, as usual.
Photo 6: Since this is a fall makeup and I wanted a bit of orange on upper part of the eye, I took a blending brush and with orange eyeshadow I gently blended harsh line on brow bone. For highlighting the area under my brows I used a pearly white eyeshadow.
Photo 1: Now that makeup on upper part of the eye was mostly done, I applied black eyeliner. I made a flick when the tape was still on my face, but then I removed it and finished the application.
Photo 2: It’s not that visible, but I gently draw a line with orange eyeshadow from outer part of my eye (where the flick is starting) down towards my cheek. Then I applied a bit of concealer, which was my base for orange eyeshadow, and set itwith powder, because I didn’t want for my eyeshadow to crease.
Photo 3: Then I started to gently apply orange eyeshadow on lower lash line and blend it down on almost whole area of my dark circles (I don’t know how to express this better, but you can see on the photo what I’m trying to explain).
Photo 4: In inner corner of the eye I first applied a white pearly eyeshadow and then black eyeliner.
Photo 5: I admit, I did look strange, because orange on dark circles looks like someone would beat you. So I added a bit of golden eyeshadow over the orange, which immediately softened the look. Then I took golden nail foil, which I bought on Moja drogerija and it’s actually foil for nails, and started gluing little pieces on orange eyeshadow, parallel with the straight line. I also added a bit of plum eyeshadow on lower lash line. I used black kajal pencil on waterline. Photo 6: For the end I curled my lashes, applied a bit of mascara and then false lashes. As you can see, I glued them a bit strangely here. What can I say; I’m still far from being expert in false lashes application. I also want to mention that applying false lashes was the last step by finishing this look, because I always have a problem with them in inner corner of the eye, where they don’t want to stick on lid nicely.
![]()
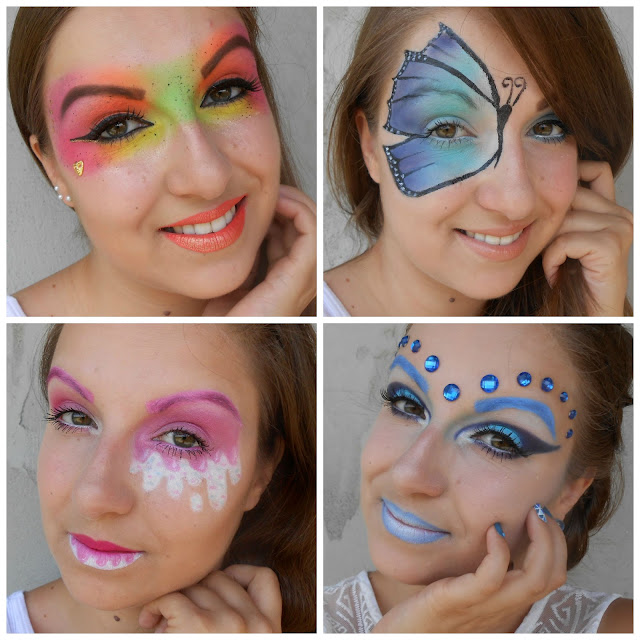
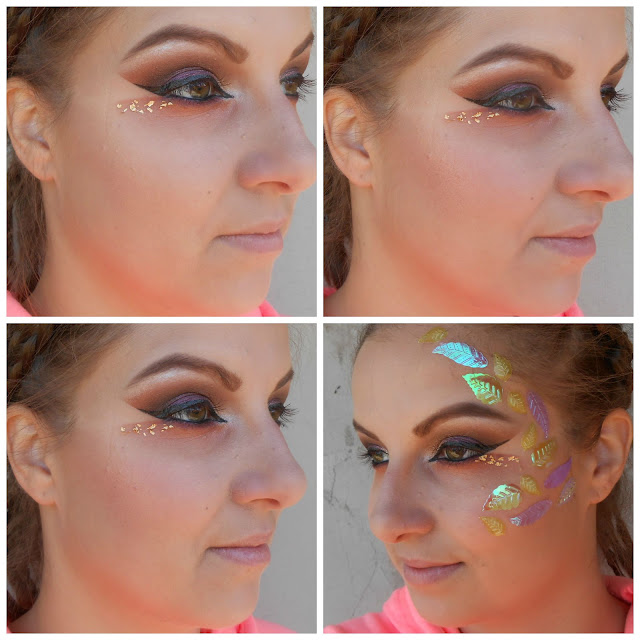
On the face I decided not to complicate, because I bought glitter in a shape of leaves and I wanted that the main focus would be on those leaves. First I contoured my face with bronzer from Sleek Face Form Kit in shade Fair, and then I went over with golden highlighter, because I felt like I need some shimmer there (photo 1). For the blush I first used peachy Sleek Life’s a Peach (photo 2), but everything on my face seemed too orange, so I applied a bit of Sleek Pomegranate over it to get more reddish effect (photo 3). On left side of my face I applied a bunch of leaves glitter (photo 4). I started on my cheeks and went up to crown of the head. I bought this glitter in Tedi for about 1 €. There is plenty different glitter in it (starts, butterflies etc.), so it’s quite affordable for those who want to be creative. Leaves come in three different sizes, shapes and colours and are duochrome, which makes them even more amazing. I glued leaves in my face with Fingrs lash glue. I always use this glue, when I have to glue anything on my face, because it holds everything in place very well.
![]()
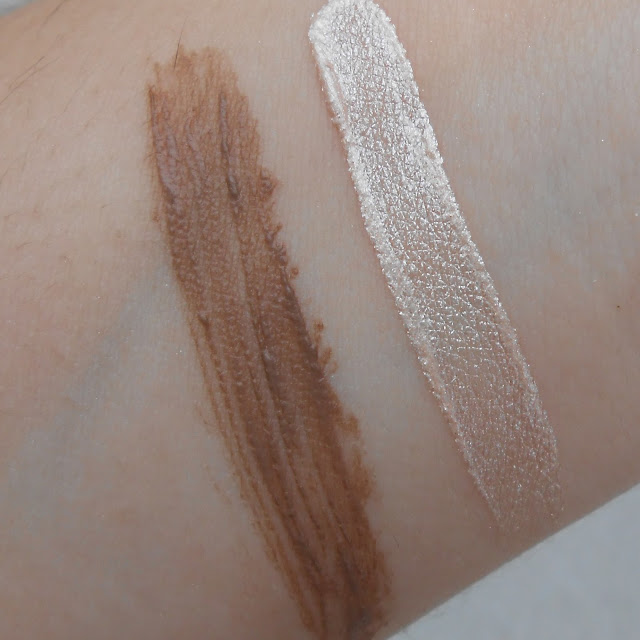
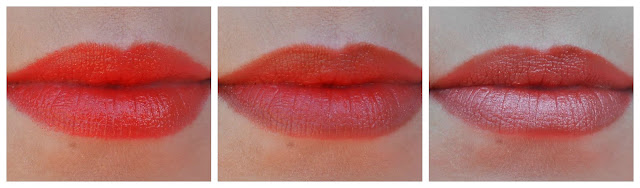
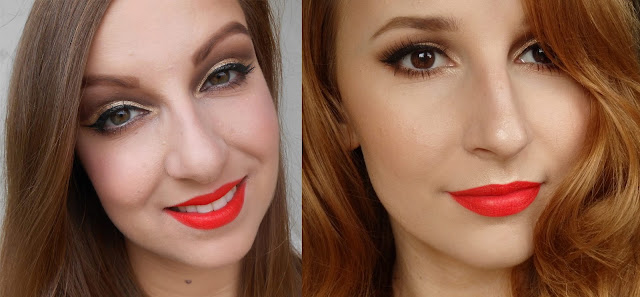
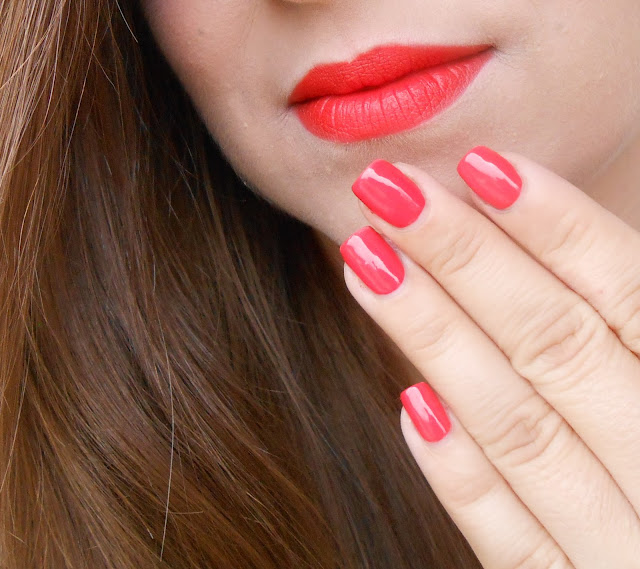
On the lips I first applied Avon Tangerine Tango, which is an orange creamy lipstick. Then I used brown creamy eyeshadow from palette Imagic (at least that’s what it says on packaging, I got it on Ebay) for lining my lips. I actually regret that I didn’t take any photos of this palette before I used it, because eyeshadows are amazingly pigmented (I also used them for Snow Queen look). I actually got it to use it for more creative looks, but never planned to review it, because I didn’t expect I’ll like it so much. Okay, back to tutorial. For the end I wanted to apply a bit of golden eyeshadow on inner part of my lips, but in the end I ended up applying it over my whole lips. I think this lip combo really screamed “fall” in the end.
When makeup was done I un-braided my hair and then put the band with leaves on my head as a crown. Because I felt like something is missing, I added few leaves on my neckon right side, but because of my hair this glitter wasn’t much visible.
Products I used:*Face- Vichy Teint Ideal 15
- Oriflame The One Illuskin foundation Porcelain
- Catrice Liquid Camouflage 01 Porcelain
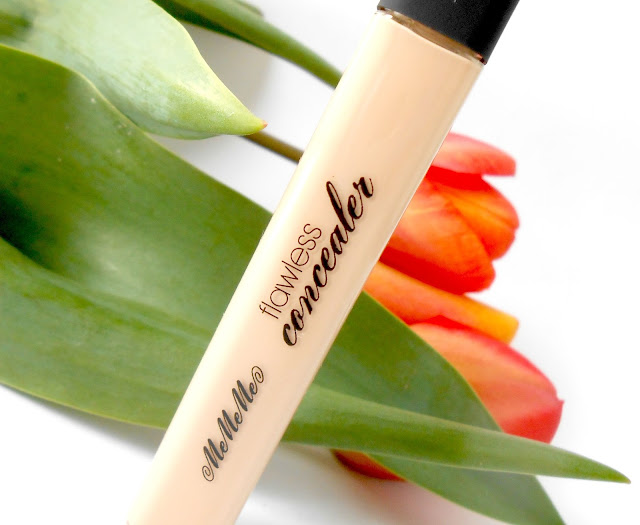
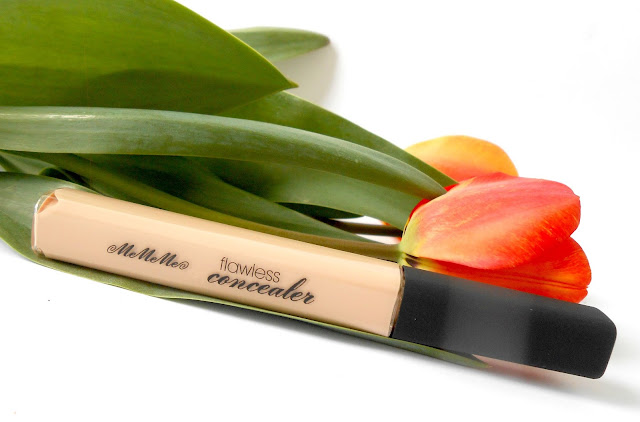
- MeMeMe Flawless Skin Beige
- Bourjois Silk Edition Porcelain
- Sleek Face Form Kit Fair (bronzer)
- Sleek Life's a Peach
- Sleek Pomegratane
- Essence Metal Glam Gold Digger
- glitter from Tedi
*Eyes- NYX HD eyeshadow base
- Sleek Vintage Romance (Meet in Madrid, A Wow Venice, Honeymood in Hollywood)
- Maybelline Colour Tattoo Metallic Pomegranate
- Maybelline Colour Tattoo On and On Bronze
- Sleek Storm (shade 2, 6, 7, 12)
- S-he Stylezone eyeshadow quatro 245
- Oriflame The One Stylo Black
- Essence Liquid Ink Eyeliner High Gloss
- S-he Stylezone dip eyeliner waterproof 001 Black
- Toyoko longlasting eyeliner 508
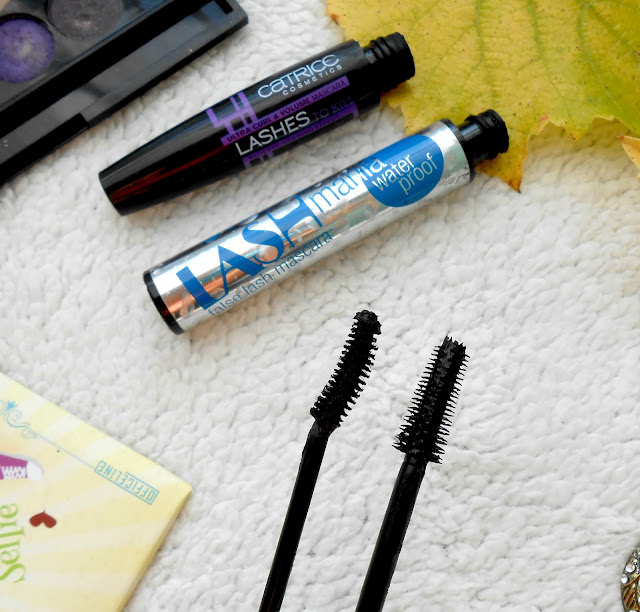
- Essence Lash Mania mascara
- Born Pretty Store false lashes 426
- golden foil
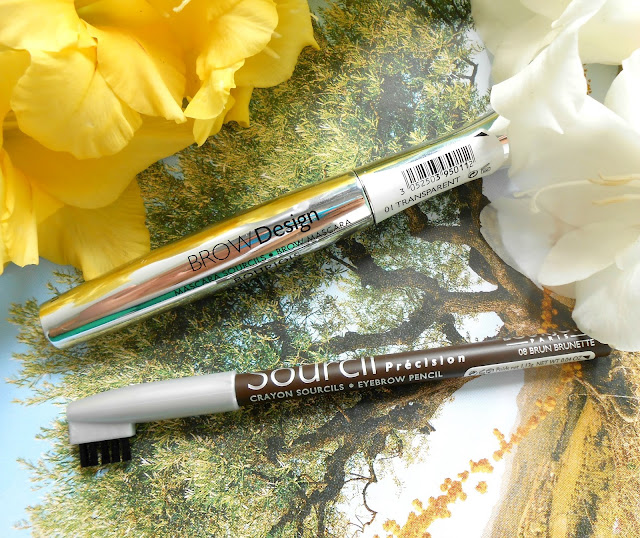
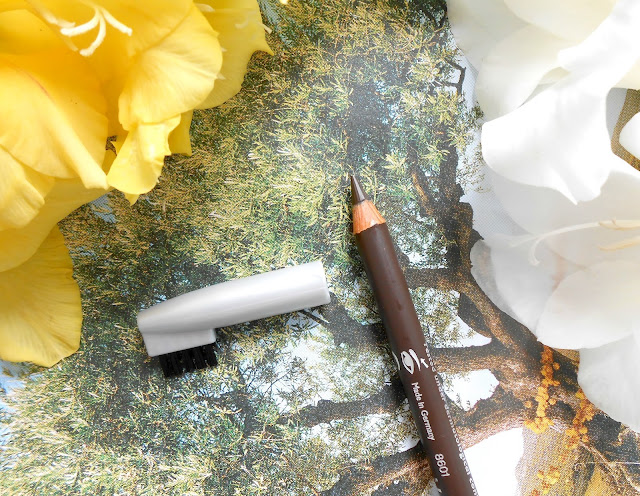
- Essence How to Make Brows Wow (Love Brunettes)
*Lips- Avon Tangerine Tango
- Imagic Professional Cosmetics pallete 12 Flash Color Case
- Sleek Storm (golden eyeshadow)
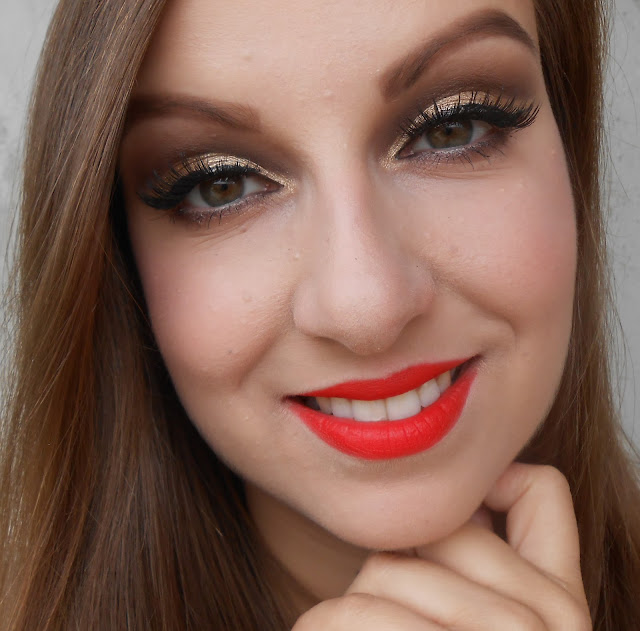
I have to show you one photo of this look without the "crown", because I really love how much hair I have when I curl it. I think braids will be my go to hairstyle from now on.
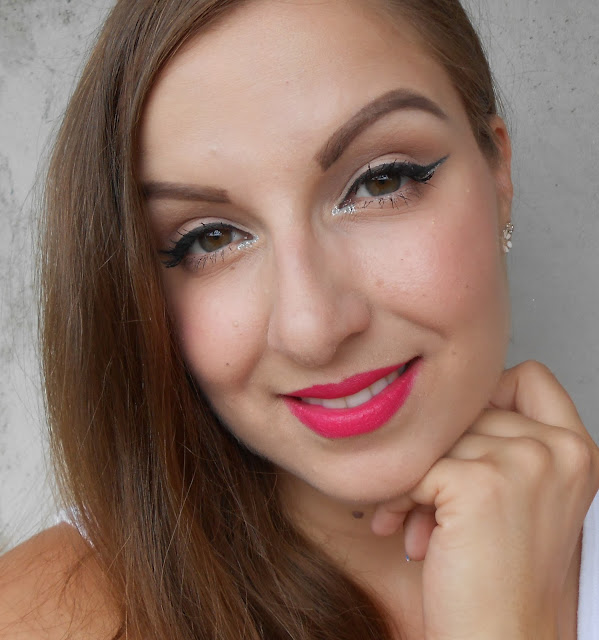
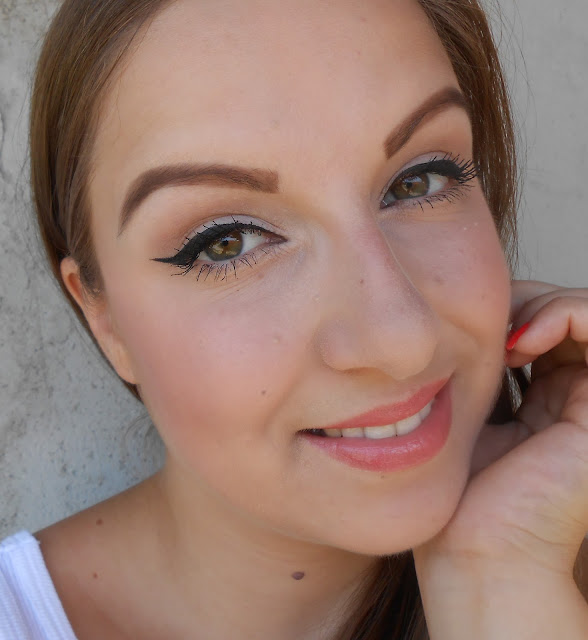
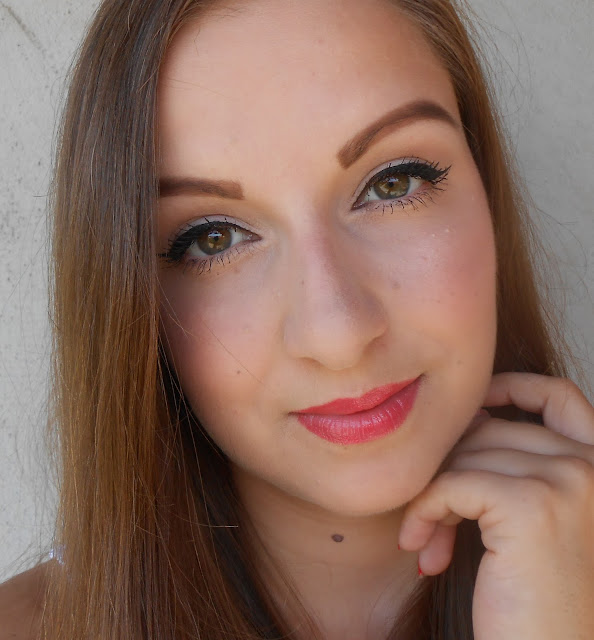
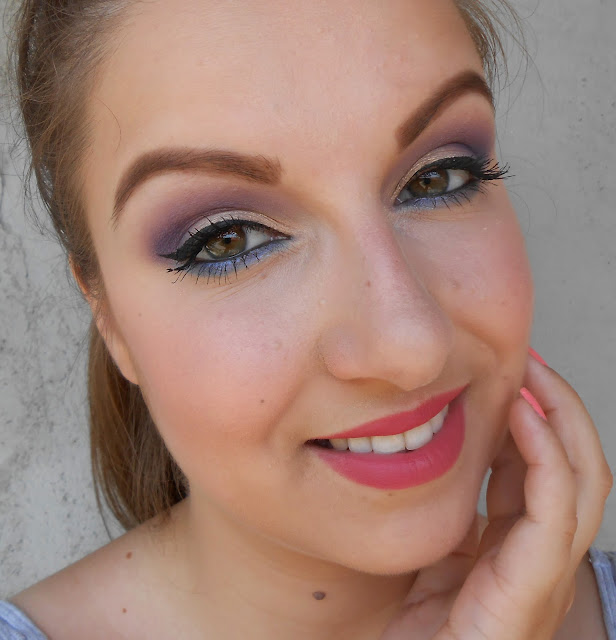
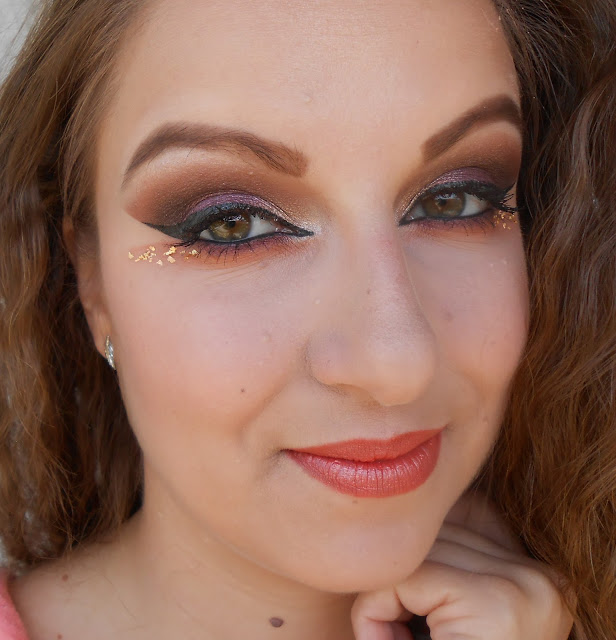
I liked this look so much that I didn't want to remove it, so I had to "recycle" in into wearable look. Okay, wearable for me, because I know many of you probably still think this is too crazy look to be wearable. I removed most of the orange eyeshadow from my under eye circles and the glitter had to go, but I kept golden foil. I just loved it to much to remove it.
What do you think about this makeup look? How do you like these photo tutorials, are they enough understandable? Thank you for reading!